
Looking for a unique and eye-catching way to build your own dining table? Look no further than resin arts! Resin is an incredibly versatile material that can be used in a variety of crafts, but did you know it’s also perfect for building furniture? In this blog post, we’ll explore the benefits of using resin in your DIY projects, how it can increase the value of your home decor, and provide tips on how to use different types of resins to create a beautiful and functional dining table. So let’s get started!
What are the benefits of using resin in arts and crafts?
Resin is a versatile material that can be used in many arts and crafts projects. One of the primary benefits of using resin is its versatility- it can be molded, shaped, cast, or poured into just about any form you desire. Resins come in different types such as epoxy or polyester resins.
Another advantage of using resin in art is its durability. Once set and cured, resin forms a hard and durable surface that’s resistant to scratches, water damage, and heat. This makes it perfect for creating long-lasting home decor items like dining tables.
Moreover, with the addition of pigments or other materials like wood shavings or glitter flakes, you have endless possibilities when it comes to color combinations and design options.
Resin also has self-leveling properties which make it easy to work with while leaving no bubbles on your final product. Plus, since each piece made from resin is unique due to the nature of the material itself; you’ll end up with an original artwork every time!
Does value can increase ?
One of the most significant advantages of using resin in arts and crafts is that it can increase the value of your finished product. Resin creates a clear, glossy finish that gives any piece an elegant and professional look.
When it comes to furniture, adding a resin finish to your dining table can significantly increase its value. Resin adds durability, scratch resistance, and water resistance to wood surfaces. This makes it possible for wooden tables with resin finishes to last longer than their counterparts without this coating.
Additionally, using unique pigments or adding natural elements such as flowers or shells into the resin mixture will result in one-of-a-kind pieces that are highly sought after by collectors and enthusiasts alike.
However, note that while utilizing high-quality resins may contribute to increasing the value of your finished workpiece; other factors such as design aesthetics also play a vital role in how much people would pay for them at auctions or galleries.
Ultimately, if you’re looking for ways to add more value to your art pieces or furniture projects- consider incorporating resin into your creative process!
What are the different types of resins?
When it comes to using resin in arts and crafts, there are different types of resins that you can choose from. Each type has its own unique properties, so it’s important to understand the differences between them.
The most common types of resins used in arts and crafts are epoxy resin, polyester resin, and polyurethane resin. Epoxy is a popular choice because it has excellent clarity and UV resistance. Polyester is often used for larger projects because it cures quickly and is relatively inexpensive. Polyurethane is great for creating flexible molds or casting objects with fine details.
Another type of resin that’s gaining popularity is bio-based or eco-friendly resin made from renewable resources like plant oils instead of petrochemicals.
It’s important to note that each type of resin requires its own specific mixing ratio, curing time, and application process. So before you start any project with a particular type of resin, make sure to read the instructions carefully.
Choosing the right kind of resin depends on your project goals as well as personal preference. Knowing the characteristics and applications of each option will help you make an informed decision when selecting one for your next creative endeavor!
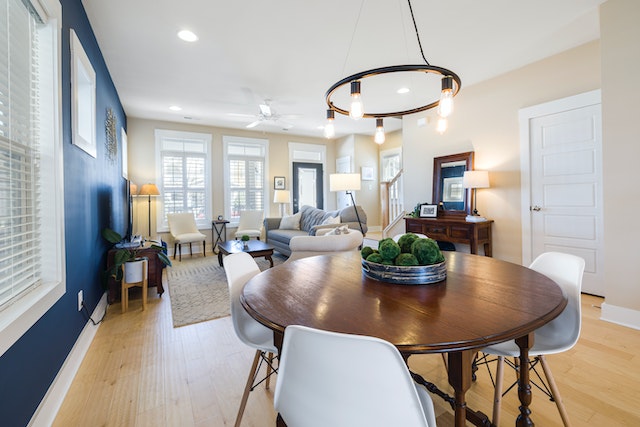
How to use resin to build a dining table
Using resin to build a dining table can be an exciting and rewarding project that results in a beautiful piece of furniture. Here are some steps to follow when using resin for your dining table:
First, determine the type of resin you want to use. There are two main types: epoxy and polyester. Epoxy is more durable and resistant to yellowing, while polyester is less expensive but prone to yellowing over time.
Next, prepare your workspace by covering it with plastic sheets or newspaper. This will protect the area from any accidental spills or drips.
Then, mix the resin according to instructions provided on the packaging. Be sure not to mix too much at once as it will harden quickly.
Apply a thin layer of the mixed resin onto your tabletop surface using a paintbrush or roller (depending on preference). Allow this first coat to cure for several hours before adding additional layers.
Repeat this process until you have reached your desired thickness and finish, keeping in mind that each layer must cure before adding another.
Sand down any rough spots or imperfections and add sealant if necessary for added protection against scratches and damage.
Using resin arts in building a dining table can create stunning visual effects while also providing added durability against everyday wear-and-tear. By following these simple steps, you’ll be well on your way towards creating a beautiful custom-made dining table that’s both functional and artistic!
Tips for working with resin
Using resin in arts and crafts is a great way to add uniqueness and durability to your projects. Building a dining table with resin art website is one such example of how this material can be used for functional as well as aesthetic purposes.
However, working with resin requires some expertise and precautions to ensure the best results. Here are some tips for working with resin:
1. Always wear protective gear such as gloves, goggles, and a respirator when handling resins.
2. Follow the manufacturer’s instructions carefully while mixing the components of the resin.
3. Mix small amounts of epoxy at once to avoid wastage or unwanted reactions between components.
4. Use a clean surface that is free from dust or debris while pouring the liquid mixture into molds or surfaces.
5. Allow enough time for curing before sanding or polishing the finished product.
By following these simple tips, you can create stunning works of art that will last for years to come!


